Category Archives: Dairy-Free

Summer black bean and corn salad 

  There are recipes for black bean and corn salads everywhere. So how original is this one? I have no idea but my kids devoured it. Not sure if they were just really hungry or if they loved it but I sure did and am very happy to share this ridiculously simple salad recipe that helped me find a use for some of my leafy green celery. 

  Black bean and corn salad 

As a meal this serves 2, as a side 4. 

Ingredients

  • About 2.5 cups of frozen peaches and cream corn 
  • 1 can no salt added black beans, drained 
  • 2 tbsp chopped red onion
  • 1 yellow sweet pepper 
  • Fistful of celery leaves. Chopped. (About 1/4 cup when chopped)

Dressing

  • Juice of 1 lemon
  • 1 tbsp olive oil (adjust higher if using a large lemon)
  • Pinch kosher salt
  • Pinch freshly ground pepper
  • 2 pinches cumin
  • 1 pinch garlic powder

Method

Combine salad ingredients it a bowl and set aside to let corn thaw. (15-20 min)

Mix dressing ingredients in a jar and shake. 

Toss all to combine and serve! 

  
Seriously this dinner came together so quickly last night. I didn’t care if anyone even touched it but everyone tore right in. I served it as a meal with a pickle on the side just because my kids love pickles and olives. But it would make a fantastic side salad for a bbq. I will probably double the recipe next time so that I have leftovers for my lunch and not just the kids! 

If you like olives, pasta and fun ingredients, this is for you.

I recently posted about the carrot top pesto, (Which I am about to make again as I get carrots today in my basket), I have used it in the soup, spread it on bread, and made a pasta out of it. All were excellent, but this, this was the best. Another pasta dish, I made it using the leftovers from our first carrot top pesto pasta. The first pasta I didn’t prepare, my mother did and did not realize I had given her enough pesto for an entire box of pasta and she only used half the box so it was extremely strong. it was still good but needed a little tweaking to be perfect. well I used the leftovers to make this: IMG_0266Served with a swiss chard and romaine salad, this became a nothing wasted meal. I love it when all the ingredients can be used and nothing finds its way to my garbage – even the leftovers got used, the kids took them for lunch as a pasta salad with some tofu added for good measure. The swiss chard ribs are in the pasta and the leaves in the salad. We grew the swiss chard in the kids garden, a project my mother made for them this year, hot peppers, carrots, green beans, lettuce, chard and tomatoes. a beautiful little heaven of home grown foods.

IMG_0261

This meal came together slowly, I actually intended on just making a salad, ignoring the leftover pasta. But after de-ribbing the chard I realized I needed to do something with it. I thought caramelized onion and chard would make an interesting saiad topping so started that, then inspiration took over, i had a handful of cherry tomatoes left so chopped them in half and added then to the mix, then remembered the pasta in the fridge, and that was it. I tossed a bunch of pitted kalamata olives in to the mix and  as everything cooked down I added wine to deglaze and make a bit of a reduction before adding the pasta and some water. Tossing it all in the same pan the pesto thinned out and the flavours really work well together, unlike the flavour of typical pesto this is more citrusy with a hint of coconut. (there is coconut in the pesto itself and 1-2 tablespoons of lite coconut milk was added to the pesto to make the pasta.) I really like it but that might just be a personal taste preference.

IMG_0263

Hot or cold this dish is fabulous, although because I like warm olives, I do prefer it hot. I used an angel hair pasta here but really anything would work. what is also interesting is I DO NOT LIKE PESTO! I never have. Maybe its the cheese, or the pine nuts because neither feature here. I would actually bet this would be good on Zoodles (but I really have an issue with restricting carbs too much. use a whole grain pasta (pictured is “Smart” pasta) or something fun like buckwheat or rice if you have celiacs. Glass noodles would be killer here.)

Here I give you the correct amount of pesto for the correct amount of pasta, but you can also adjust to taste.

Carrot-top pesto pasta with Olives and chard.

Serves 2 (increase amounts to serve more we only needed this much)

1 tsp olive oil
1/2 onion, thinly sliced
ribs from a small bunch of swiss chard, chopped into strips
1/4 cup white wine
10 pitted Kalamata olives
6 cherry tomatoes cut in half
170g pasta of choice
3  tbsp of Carrot Top pesto
1 tbsp coconut milk
water if needed.

Cook pasta and add the coconut milk and pesto to it, set aside.

Heat olive oil over medium heat in a regular frying pan (don’t use a non-stick pan for this) add onion and cook until translucent, add the chard and continue cooking until chard softens. when a brown glaze forms on the bottom of the pan its time to add that wine. (this is my favourite part). now add the olives and tomatoes when the tomatoes. When tomatoes have softened you can add the mixed pasta and toss to mix and coat. you may need to add some water here. Serve!

Carrot Adventure.

  I got a beautiful assortment from Lufa farms in this weeks basket, but it came with a few challenges.

What to do with

Green Tomatoes (challenge in progress)
Carrots with full beautiful leafy tops (Challenge achieved)
“no so pretty” bag of veggies. (challenge achieved)

The not so pretty bag of veggies was the first thing I tackled, there were 2 onions in there, I also had some carrots nearing the end of their life span in my fridge and celery only fit for cooking. one thing came to mind. Stock. I had never made stock before but how hard could it be. I had fresh herbs growing outside and the veggie scraps from the meal I was making at the time. So in the pot with water went the onion, carrots and celery with an eggplant bottom, some bits of cauliflower stem  and a bunch of fresh parsley and a bunch of fresh oregano. the end result was a beautifully fragrant and flavourful broth (I added salt) that just cannot compare to what you buy in a box!! but now I just enlarged my challenge list to include:

Make something with homemade stock (Challenge achieved)

And then inspiration and a good google search hit. and I managed to deal with all but the green tomatoes in one delicious meal:

  Carrot PB soup with Vegan Carrot top pesto

I mostly stayed true to the respective recipes with the following variations:

SOUP:

I used 4 cups of my homemade stock instead of stock and water. I used chilli powder, ginger and garlic powder that I mixed into the peanut butter before adding to the soup, (instead of chilli sauce, something I do not have in my kitchen) I used an inversion blender because I find it does a better job with less risk of exploding in your face.

PESTO:

I used unsweetened coconut as it didn’t specify, otherwise I followed this and it turned out absolutely delightful. its slightly tangy citrusy notes go so well with the thai flavours of the soup.


A Love Affair with Eggplant

Eggplant is one of those strange foods that confuse children (what do you mean its an egg plant, it doesn’t look like and egg and it definitely doesn’t taste like one) and adults aren’t always sure if they like it or not (eggplant poorly done is pretty gross). I love getting my eggplants from Lufa Farms, they are always just the right size and the idea that my food grew on a warehouse rooftop right in the middle of my major city is, well delightful. Especially since whenever I try to grow anything the squirrels get fat and my planters end up empty. I had one in my fridge from my last order and although I really wanted to eat it, cooking in 30 degree weather isn’t really pleasant. So I needed something that required minimal time in front of the stove. And the following two recipes were born.

I love salt, so if you are less of a salt affectionado the first one may be a bit too salty for you, my kids didn’t really go for it (they aren’t used to salt, as I do not cook with it as a primary flavouring very often.) So I cannot in my right mind suggest you try feeding this to your kids either, but its a nice side dish for a summer dinner.

Finding ways to make tofu more interesting is an ongoing experiment, my kids love it but I get tired of eating the same protein with the same flavourings over and over again. Since it was again too hot to bake in the over my BBQ tofu was out (I do not have a grill, I really want one now but its not convenient in apartment living and I am pretty sure I would set fire to my place anyway) Since I had some indian insipired rice a friend had brought over during my recovery from surgery (I had one of my heart issues corrected a few weeks ago!) I decided to stick with similar flavours and it turned out quite nicely.  This, the kids ate.

Photos to come, I need a new phone or camera and so photos for the moment are pretty few and far between.


 Pan Seared Eggplant and Tofu
Serves 4

Ingredients:

  • 1 brick extra firm tofu
  • 1/2 medium eggplant
  • pinch kosher salt
  • 1/2 tsp tumeric
  • 2 tsp Coriander
  • pinch of cumin seeds
  • 1/2 tsp cumin
  • 1/2 tsp Cinnamon
  • 1 tbsp dried currants 
  • 1 tbsp olive oil

Method:
cut tofu and eggplant into bite sized cubes,  put in large mixing bowl and toss with currents, salt and spices. (you can adjust these to your taste)

Heat oil in a large non-stick pan over medium high heat (or use a bit more oil in a conventional pan) – you may need to work in two batches if you pan is small – put eggplant and tofu in pan in a single layer making sure all pieces contact the bottom of the pan, stir to flip the pieces every 3-4 min until eggplant is softened and tofu is browned.

Serve over rice or quinoa with a soy sour cream mint sauce (Sour supreme, lemon juice and a lot of dried mint.) 

Eggplant Patties
serves 2

Ingredients:
1 small eggplant of 1/2 medium, sliced into circles
1/2 cup Braggs soy alternative (or soy sauce)
1 tbsp PB2 (or 2 TBSP natural peanut butter)
1 green onion, sliced
3 tbsp chickpea flour
2 tsp olive oil

Heat oil in pan over medium heat.
toss eggplant with the rest of the ingredients in a medium bowl, be sure to cover the eggplant generously. if its too thin and doesnt stick to the eggplant add more flour.

in pre-heated pan place the patties and turn after 6-7 min, you may need longer depending on thickness of your slices, the eggplant is ready when it is completely softened. (the skins edges will sorta curve in and will become transparent)
wonderful served on brown rice cooked in veggie broth.

Scenes from the life of Dog

 Seriously? I love this toy but it’s not necessary to have me wear it.   

100% I am a big dog. 
What? Did you just say “walk”  

Most comfy place to sleep.  


My new friend. 


Molly is doing fantastically. Our biggest challenge has been convincing her the kids room is still INside the apartment and the next is why she doesn’t like some people. She’s transitioning to adult food which is complicated! But she so far is eating it (still mixed with puppy food) having a dog with kids sounds kinda loopy but it’s absolutely fantastic. Interestingly she isn’t a fan of fruit. She does like the human/puppy frozen snacks I made with PB and banana however. So do I! 

  • 1 cup PB
  • 1-2 mashed bananas
  • 1/4 cup water (or soy milk) 

Mix with fork until well incorporated the PB and banana. Stir in the water then fill silicone molds or drop small amounts on a parchment lined tray and let set overnight. Once frozen you can keep them in a ziploc to save space. 

When it rains……I cook

When it rains it pours, a nice euphemism but right now, when it rains it becomes a hurricane very quickly.

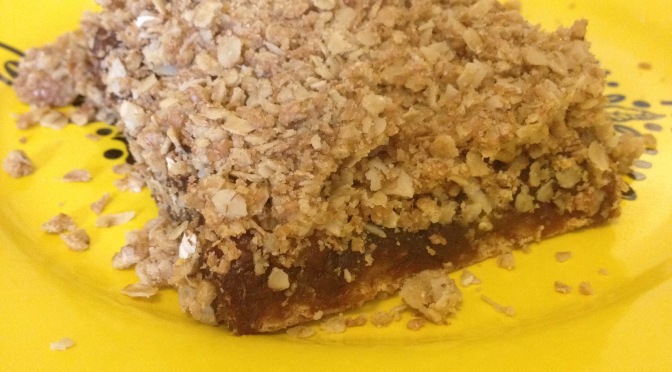
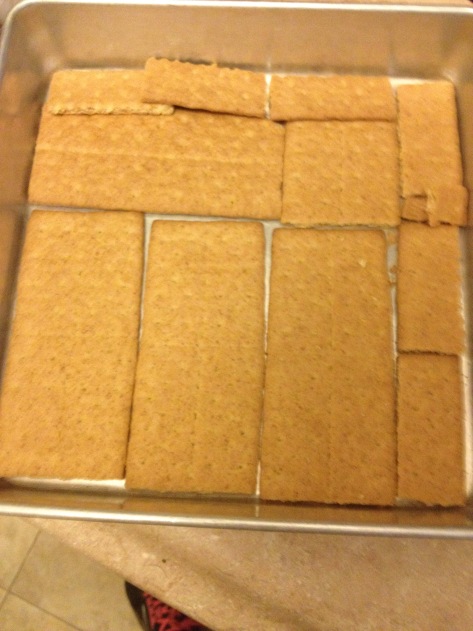
  I won’t air all our dirty laundry on my blog but suffice it to say I am a little pissed off right now. I ranted and raved yesterday and today I needed to do something. It was actually raining out (pouring for real, all day) so a run, a nice long walk with Molly, a trip to window shop, all out. Next best thing, make something delicious. I decided to try my hand at easy vegan date squares, using medjool dates…. yum…  I was on hold with a customer service department, so I stuck the phone on speaker, and got to work. I personally love graham, so I decided to take a shortcut and make my bottom layer from graham crackers, This I am now convinced was brilliant. not only did it save time, it adds a whole new dimension to what is usually essentially a date sandwich.

  For the filling I pitted and chopped 3 cups of medjool dates (about 2 cups when chopped and pitted) with some vanilla for some warmth. I want to try with other extracts, as I have had them made with orange juice concentrate and with almond and have been delightful, if you try please share how it worked!

  I topped it with a pretty classic crumble but with a little extra fiber in the form of wheat bran. I find working with my hands relaxing so I made the crumble with my hands which is a bit messy but so much fun. Molly, who very wisely stationed herself at my feet got to discover the joy that is brown sugar!

Just a heads up though, these fiber rich date squares could also be called date with the bathroom tomorrow squares if you eat too many so be sure to wash it down with a big class of your favorite milk (I vote any vanilla flavoured milk), or in my case a rose apple cider.

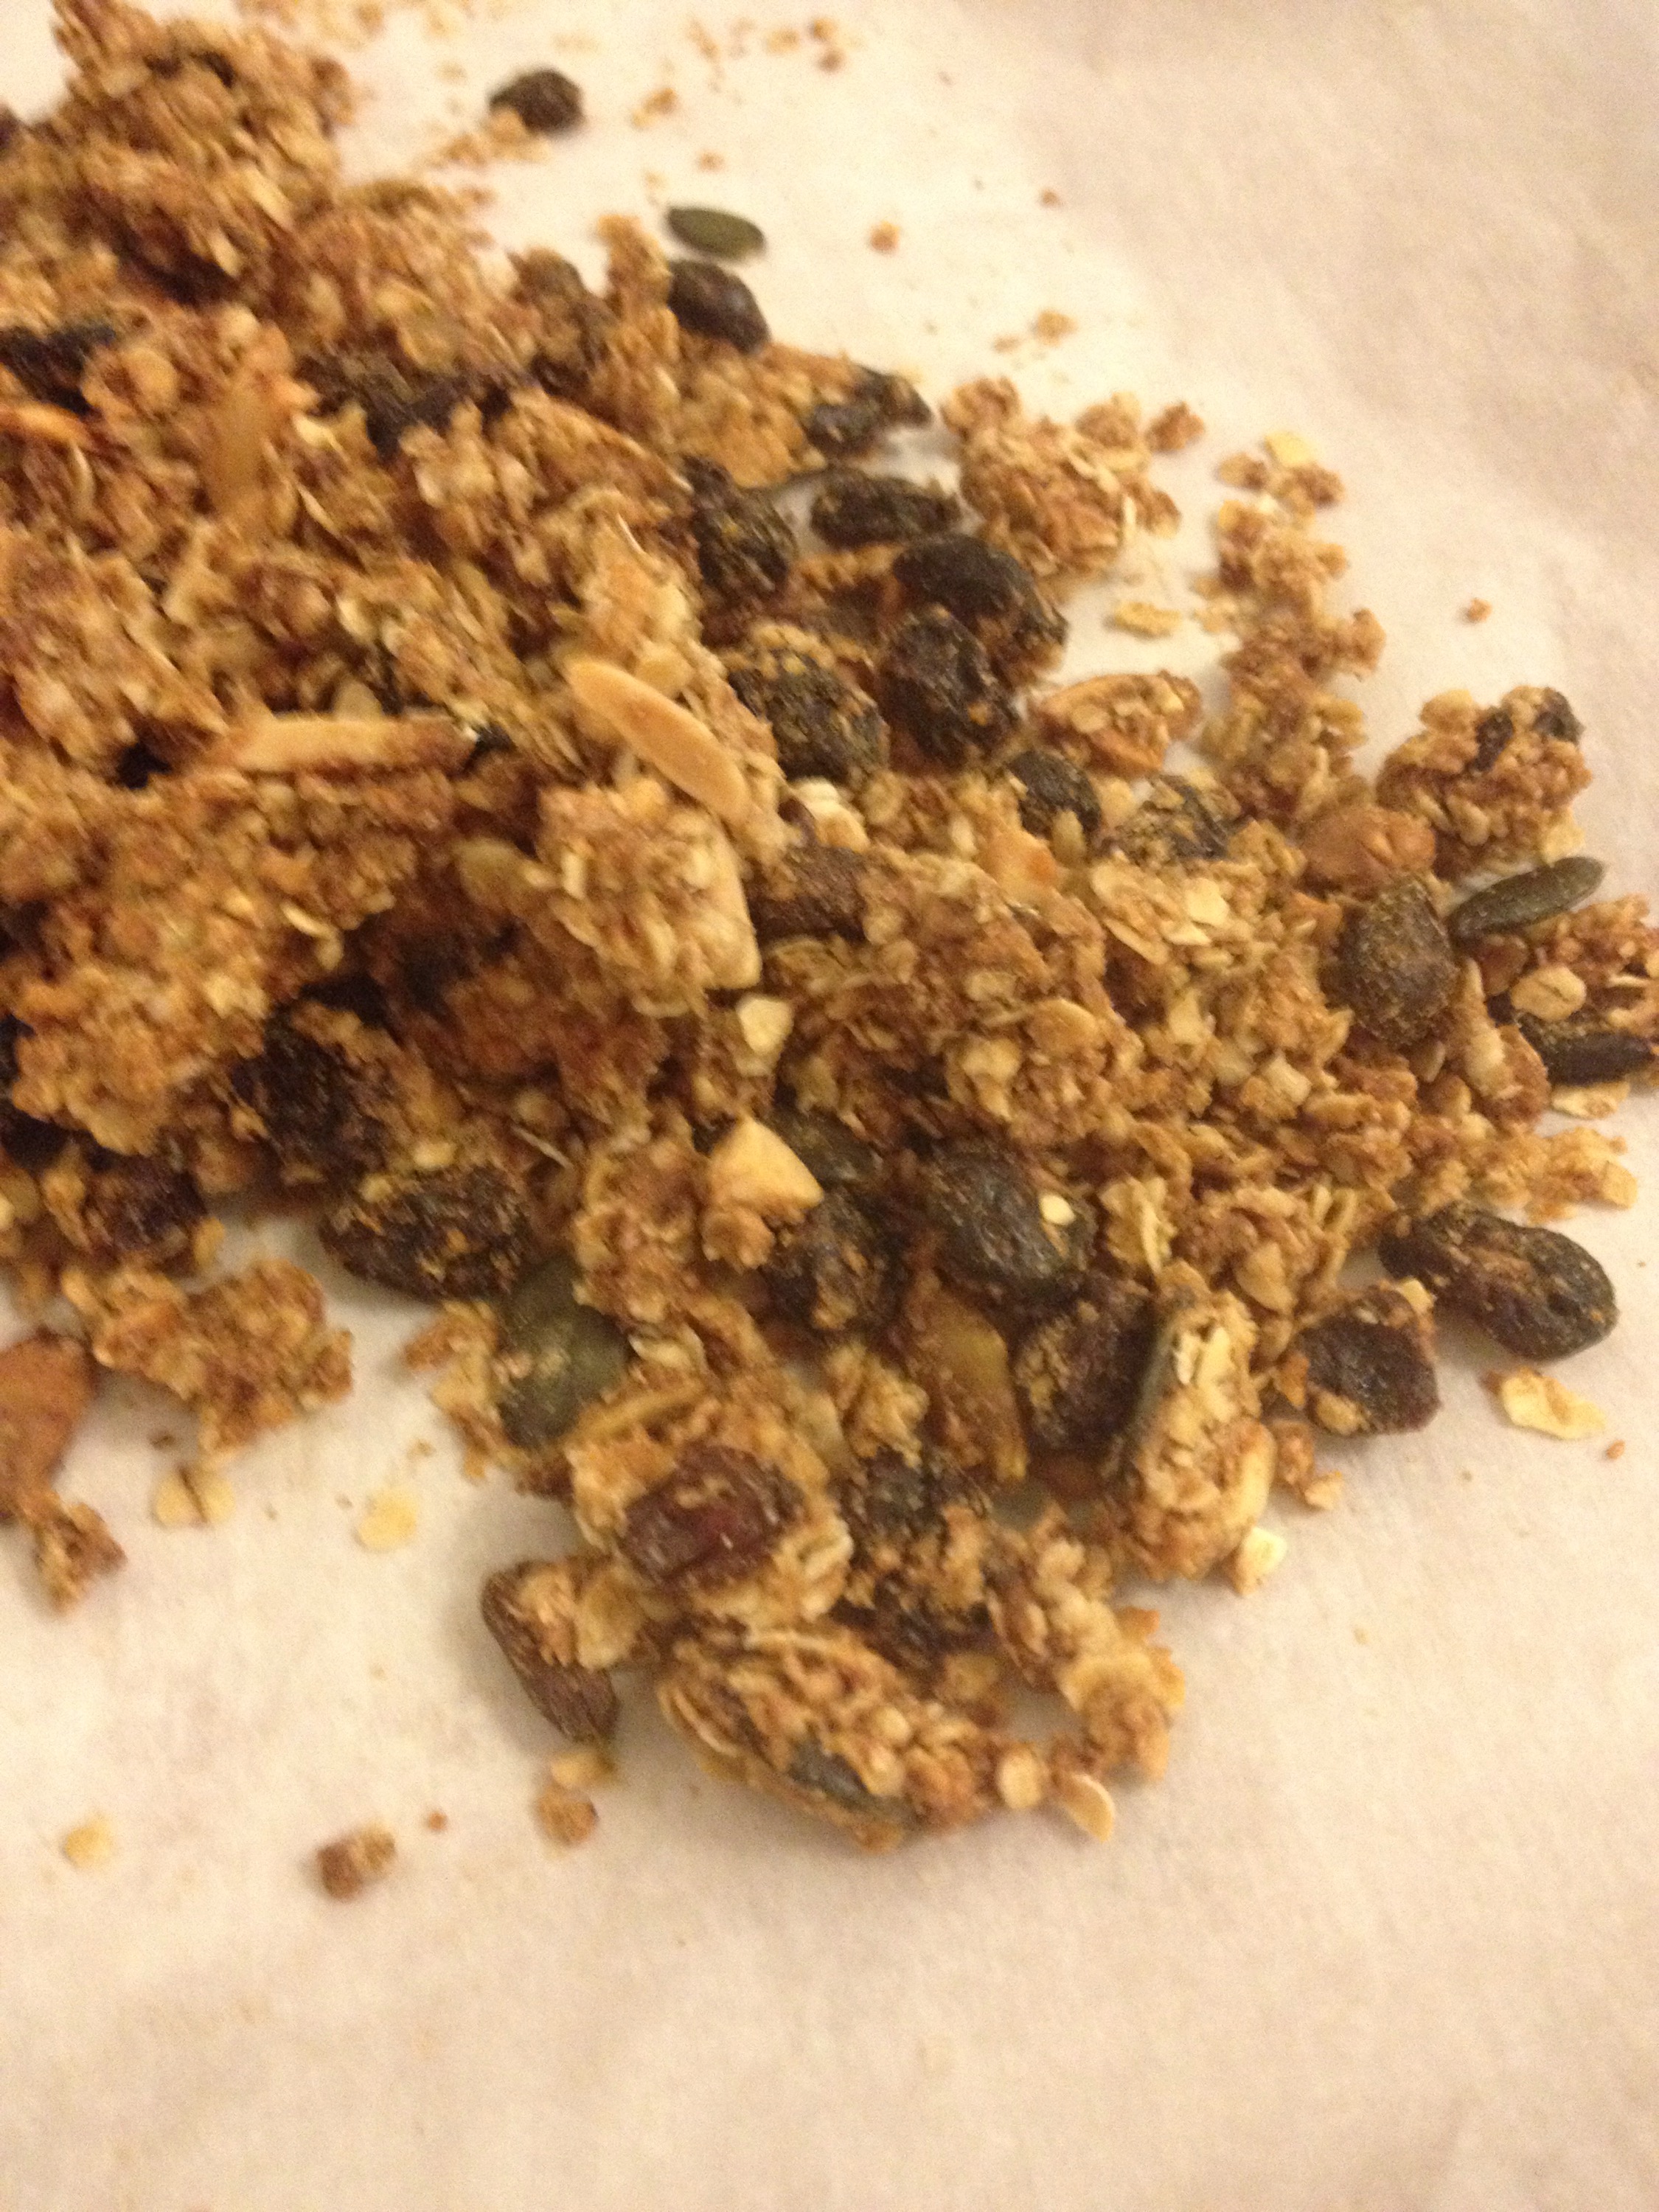
  The best part: I accidentally doubled the amount of brown sugar so had to make a double recipe of the crumble which meant I got to put an extra thick layer then mix the rest with some other ingredients for a bonus granola.

Stress-Relief Date Squares
Prep time: 15min        Bake time: 30min
    Serves 8

Ingredients:
3/4 cup oats
1/4 cup flour (whole wheat or white is fine)
2 tbsp wheat bran1/4 cup brown sugar
1/4 tsp salt
1/4 cup vegan butter, softened
2 cups pitted chopped dates (about 3 cups whole medjool dates)
1/4 cup warm water
1 tsp vanilla, almond or other extract
8-10 graham crackers

In an 8in square pan (or larger if you want thinner squares, mine were made in a 9in square pan) lay graham crackers to cover bottom (break as needed)

In a bowl combine oats, flour, wheat bran, brown sugar and salt. add the softened butter and combine well using a fork or your hands. set aside

In another bowl combine dates, water and vanilla, with a fork or your hands spread the mixture across the graham crackers with a spatula or again your hands. if working with your hands I recommend you moisten them with warm water before handling the dates, will help keep it from sticking to your skin and stay in the pan where you want it. its a useful trick for the spatula too.

The oat mixture can now be put on top of the dates, put about half of it in and press it down firmly, then do a second layer giving it all just a light tap to set together but remain crumbly. (unless you want to be able to eat these on the go in which case, push it all in firmly.)

in a 350 degree pre-heated oven bake for 30 min (20min if using a 9in pan), allow to cool in pan before cutting, cuts best when cold, so I allow it to cool completely in pan, score it  then put in fridge for about an hour before cutting to serve.

Bonus Granola
follow oat mixture instructions above. add the following:

1 tbsp PB2 (or natural peanut butter)
1/4 cup mixed dried fruits (or favourite dried fruits)
2 tbsp pumpkin seeds
1 tbsp chopped roasted cashews
1 tbsp chopped almonds
1-2 tbsp honey or corn syrup

toss together all the dry ingredients before adding any wet ones. add the wet, and with wet hands mix it well but not completely (leaving clumps and loose pieces) if it doesn’t clump well add more honey/syrup spread on a lined baking tray and bake at 300 for about 40 min until toasted, stirring once or twice.

if you prefer a less sweet granola, use only 1 tbsp of syrup but add another tbsp of vegan butter.
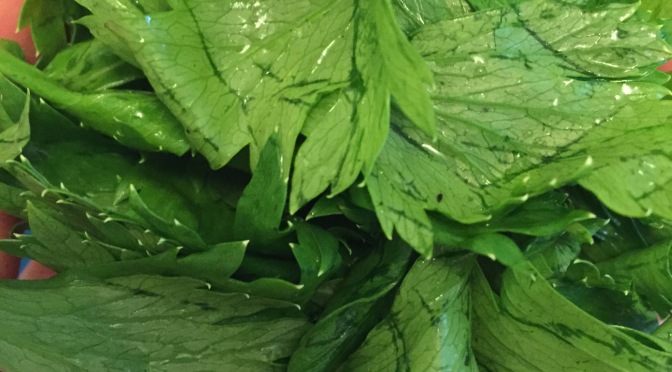
Bagel and a salad 

I am a montreal bagel addict. There is just no two ways about it. Do not give me a New York bagel that’s just bread. My favourite is pumpernickel closely followed by cinnamon raisin. There is a restaurant that serves montreal bagel sandwiches and salads and they make this great artichoke salad. After exploring the options in my fridge for lunch today I found plenty of salad ingredients including olives and artichokes. And this salad was born. Delicious with a buttered bagel (I use earth balance, I love it ). 

I’ve gotten lazy on the pictures. Mostly because I never think about posting a meal until after I eat it. 

  1. I started with a bed of micro greens (pea) from Lufa farms, chopped up some grape tomatoes, orange pepper, green onion, a little green jalapeño, tossed in some artichoke hearts, and sliced green olives and topped it with a scoop of lightly smashed chickpeas and a tad of nayo with a little sea salt (would work with tuna or salmon too if you eat fish) and dressed with a Red wine vinegrette. I wouldn’t call the salad beautiful, but it sure was tasty. It requires a toasted bagel for eating some of the salad on like a cracker. A dog to Hoover up the floor of bagel seeds always helps too. Personally a nice glass of ice tea makes a perfect match and I enjoyed yogurt with granola as a dessert. 

There is no recipe exactly because this is one of those things that gives well to what’s on hand and the salad dressing is simply equal parts oil and red wine vinegar and some salt and pepper. The chickpeas are literally just smashed with a potato masher salt mayo and a little garlic if you like. Super easy. Works well with any leftover sandwich spread actually. I enjoy hummus with these flavours. Experiment. Trust me you will be rewarded. 

A noisy meditation 

  What I wouldn’t give for a few moments to breathe. A minute even 30 seconds where there are no sirens, no trucks, no pitter patter, no fans or air conditioners, no squirrel squacks or the call of seagulls (who brought seagulls into my hood? Oh yeah that great big medical installation in my backyard.) just silent meditation retreat caliber silence. But living on a main thoroughfare in a major city means this is just not an option. So I need to take a new look at these noises, this constant stimulus and find my own peace. Be aware and acknowledge the sounds without judging them without letting them cause suffering. This however is easier to say than to do. It’s easy to ignore sounds to tune them out. But that usually leads to tuning everything out. So tonight I am enjoying the silent sounds of my oatmeal. I recognize the kids talking rather than sleeping. I hear the buses, I hear the traffic and the fan but I am attending to the sound of the spoon against the bowl, the oat bran mixing with my saliva and the squishy pop of the juicy raisins. It may be a strange comfort food but a bowl of hot cereal with raisins late at night is a symbol of relaxation for me. I like a certain texture in hot cereal and prefer oatbran or cream of wheat to actual oatmeal. here is my recipe for a good sized bowl of oatbran

Cinnamon Raisin Oatbran

Ingredients:

  • 1/2 cup oatbran
  • 1 cup milk of choice (plain or vanilla)
  • 1 cup (more as needed) water
  • 1/4 cup raisins
  • 1-2 tsp vanilla
  • 2 tsp cinnamon
  • Pinch of brown sugar

Method:

Mix all ingredients into a small pot and turn heat to medium. Stir occasionally until it starts to bubble then stir consistently until desired consistency. I promise you, in our instant oatmeal world, the effort required to make this is beyond worth it. My daughter also adores this as a breakfast or before bed snack. Takes about 10 min total about 4 once boiling. 

 Same recipe works with regular 3-minute oats too. With steel cut oats you need a lot more time. Cream of wheat use 4tbsp  and up milk/water a bit. 


Best vegan gf or not pancakes ever. PB& chocolate high protein breakfast. 

I would seriously eat these daily.  In fact we ate them before I could steal any for pretty pictures. These are not only good to eat, they are good for you. With their high protein value, they make a great satisfying breakfast.

I made these on a whim, I have been experimenting with flavoured soy milks in our pancakes for a while, and other fillings. Pancakes always leave me sorta hungry, so I usually end up making the kids pancakes and having something else. When I realized I was clean out of whole wheat flour I had a brain flash, if I could up the protein and fiber value in pancakes they would be more satisfying as a breakfast, so I started checking out my alternative flours and the chickpea caught my eye. with 6g of fiber and 6 g of protein per 1/4 cup (about the amount in 2 pancakes) it was a great solution, however I know how dense that stuff can be and pancakes should not be dense, so I went 50/50 with regular flour for what is a perfect density. since I was on a protein mission, and my son wanted chocolate ones, the thought of Reese came to mind, and how good PB and Chocolate is. I recently found PB2 a dry peanut butter powder, in a local health food store and have been trying to find ways to use it, why not add a bit of protein that way,  and of course, what goes better than banana with both peanut butter and chocolate!?  For the protein reason I used soy milk here but I often make my pancakes with almond milk, both work well but soy tends to make a flufflier pancake.

Peanut Butter Chocolate Banana Pancakes. 

  • 1 1/4 cup chickpea flour
  • 1 cup all purpose flour (gf version works well too)
  • 1 tbsp baking powder
  • 1/4 tsp salt
  • 2 tbsp brown sugar
  • 1 tbsp cinnamon
  • 2 cups soy milk (1/2 chocolate 1/2 plain)
  • 4 tbsp apple sauce
  • 2 smashed ripe bananas
  • 2tsp vanilla extract
  • About 1 tbsp chia seeds
  • 2 tbsp PB2 (dry peanut butter product)

Mix the dry ingredients well in a bowl except PB2 and chia. I recommend using a fork for this. The density of the flours are a little different and they blend better this way. Add soy milk, apple sauce, chia, vanilla smashed banana and PB2 mix well with fork or whisk. Pour about 1/3 cup into preheated non stick pan on medium heat and flip when very bubbly.

This recipe makes 12-18 pancakes depending how big you want them. So for fewer than a family of 6 you might want to take only  1 cup and 3 tbsp of the dry mix, reserve the rest in an air tight container and halve the remaining ingredients to mix with the dry mix. But these also freeze and store really well for toaster pancakes or on the go snacks.


Really Simple Vegan Cream Cheese Icing

IMG_7136

I got a little worked up about the amount of soy and processed foods I was giving my kids as part of a vegan diet this summer, but was freaked out by coconut oil and was just against anything “fake”. Then a good kick in the pants reminded me that everything in moderation is OK. In fact its even good (seriously, think about it) and this cream cheese icing (delicious and totally fake) was born. Whomever decided Icing should be made healthy needs to be shot. Icing is good. Icing is decadent. Icing should be nothing but delicious. this one is. The other beauty of simplicity is that it allows time for more important things, like finding 2 minutes to care for yourself, something as moms we often forget to do.
IMG_7148
Happy Birthday to Me, a cake we can all enjoy. I am always happy when no one, including myself, feels left out of a celebration. I really love cream cheese icing, (and cheesecake) and the veganized versions of these things aren’t always quite what I was hoping for. I am so happy to be able to share this ridiculously simple cream cheese icing.

Vegan Cream Cheese Icing

Ingredients:
3 tbsp vegan butter ( I use earth balance)
one container (8 oz) vegan cream cheese (I used Toffuti, its the only one we like)
1.5 cups of icing sugar (or more, taste/texture)

to add complexity feel free to flavour with citrus (orange zest and a tbsp of juice or lemon zest and 2 tsp lemon juice)

Method:
Using an electric mixer cream the butter and cream cheese together, add icing sugar (best done in small amounts at a time and citrus if using and mix until smooth. refrigerate until you need to use it it keeps about 5 days in the fridge. It can also be frozen, but it does change the texture slightly.

Smother on cakes, cookies, or eat with a spoon. ( more disclosure, this is what happened to the leftover after icing my birthday cupcakes) probably fantastic as a dip for your fruit.

IMG_7160